
Like all of our customers, we want to go fast in our 2018 Mustang GT (and all of our other projects, of course). We installed a Whipple supercharger, fuel system, full exhaust & more to make over 930rwhp. However, making horsepower isn’t the only way to speed up a car. Besides the suspension (which we chose the Bread & Butter package — more on that here), another way to quicken a car is to lose weight.
We don’t mean the latest fad diet (Excuse me, is this cheeseburger Atkins approved??). What we DO mean is shaving weight by removing or replacing parts on your Mustang. While we rarely take parts off of the car (we like the luxuries), there are aftermarket parts that can shed some pounds. We’ve already installed the Driveshaft Shop carbon fiber driveshaft which shaved some pounds, but now we’re onto an even bigger loss: the BRAKES!

We showed you our new goodies before & told you all about the kit (click here), but what about the install? Any coverage on that? Have no fear, guys, we’ve got you!
We took the car over to Power By The Hour Performance in West Palm Beach, FL to get some fun things installed, including the McLeod 10r80 steel kit, a Circle D torque converter & a new differential housing 3.15 gears. What we’re focusing on here, though, is the Baer SS4+ 2.0 Drag Race Brake System.

(Check out that sweet butterfly)
Let’s get this show started.

First thing to do was remove the wheel, revealing the factory brakes.

Loosen the caliper bolts located on the rear of the caliper and slide the caliper off of the rotor.

Next up you’re going to want to remove the OEM rotor. While Jake removed the factory rotor and placed the new Baer rotor in place, he used a handy-dandy S-hook (similar to those used to hang plants!) to support the OEM caliper. This MacGuyver-like move is to support the whole caliper rather than have it hanging & supported only by a hose. Nice work, Jake.

Check out the difference between the OEM Brembo setup on our Performance Pack GT vs the Baer rotor.

Before installing the Baer rotor, give it a good clean to ensure there is no debris to interfere with the pads. Slide the rotor over the studs, making sure you have the correct rotor for the vehicle position. Baer will generally note the side with an L (Driver’s) or an R (Passenger). Use a lug nut to keep the rotor secure for the remainder of the install.

Now that the rotor is in place, slide your new Baer caliper over the rotor.


Attach the caliper to the spindle using the supplied M14-2.0 x 35 bolts and washers.

Next, you’ll want to disconnect the factory brake hose on the rear of the OEM caliper. It would be a good idea to have a drain pan, rag and some brake cleaner handy… things can get messy!
Once disconnected, you can move the OEM caliper out of the picture. Sell it on eBay. Keep it on your shelf. Whatever you’d like!


Connect your brake line to the Baer rotor using the supplied banjo bolt and copper crush washers (washer-banjo-washer!).
Repeat these steps for all 4 corners.

NOTE: For the rear brakes, you’re going to lose your parking brake. Jake simply ziptied the line out of the way.
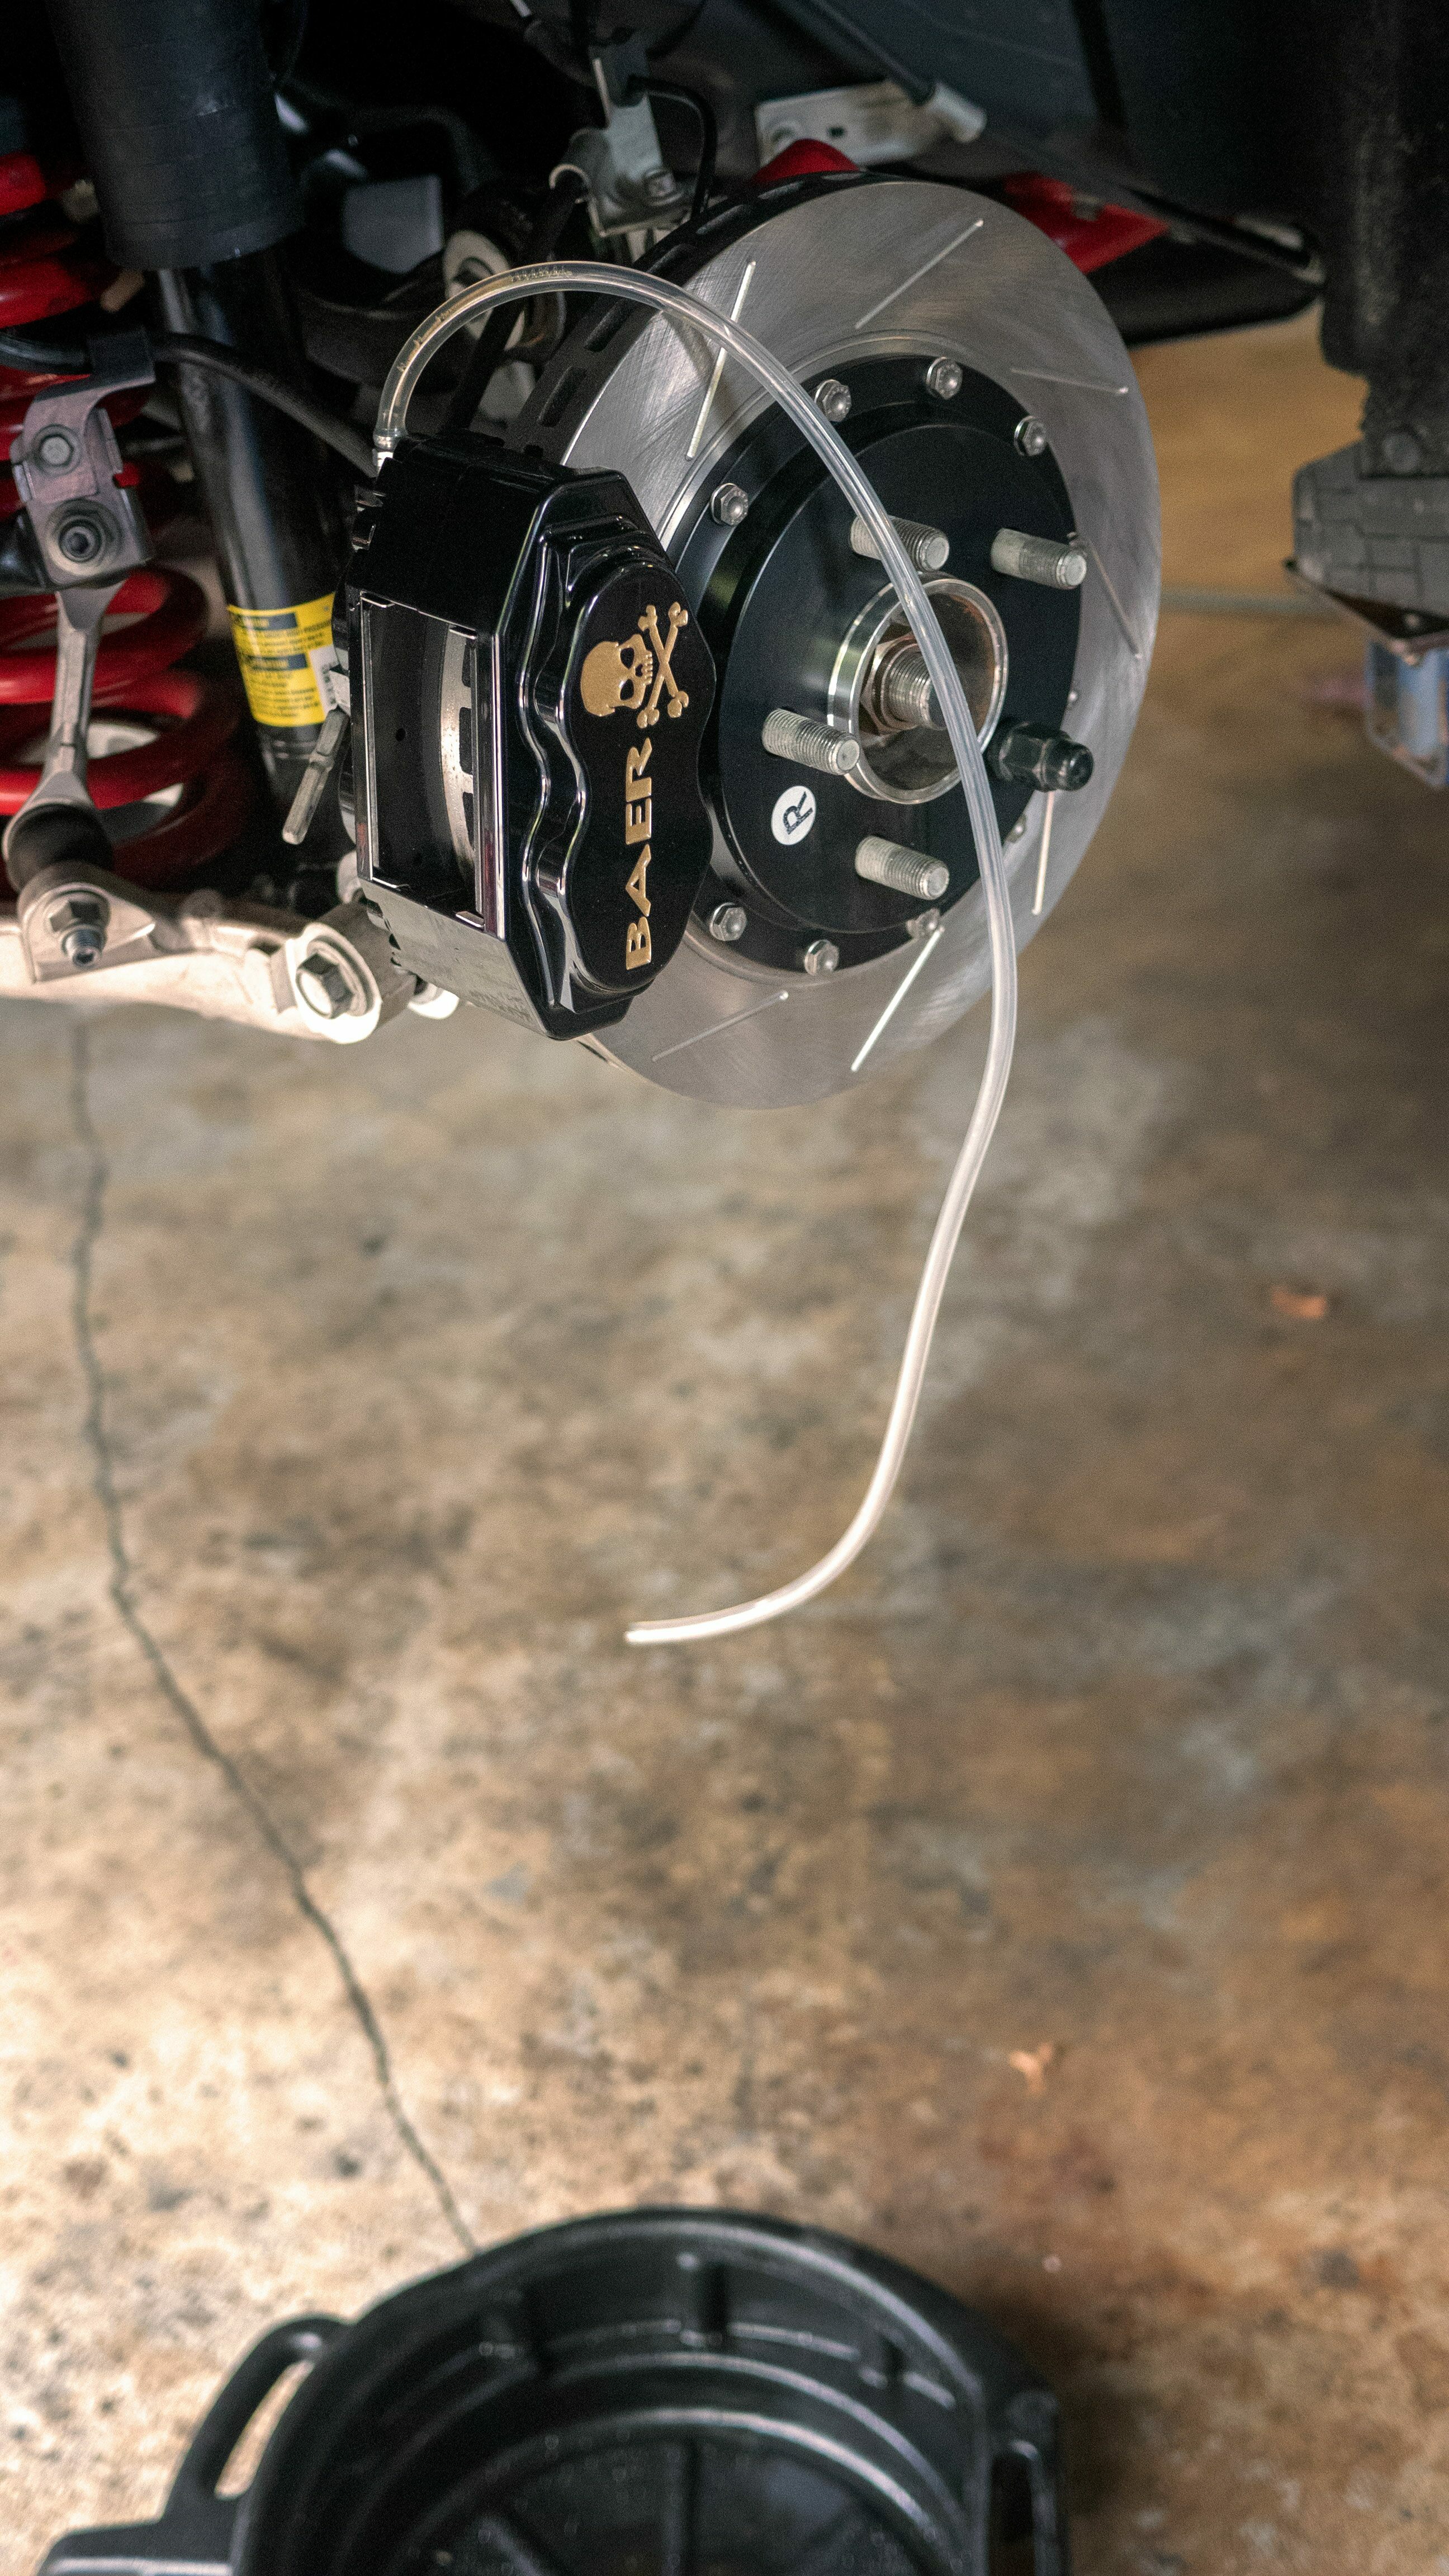
Once you’ve finished all sides, you’re going to want to bleed the brakes. For the instructions on how to do this (using the included bleeder hose), click here.

Put your wheels back on & you’re off to the races!
(NOTE: Want to read about Pad Bedding & Rotor Seasoning for best results? Click here.)
Again, for more info on this brake kit, click here!
Want to purchase a set for your own S550? Click here!
Have any questions? Feel free to give us a shout at 561-753-8105 or email us! #teamlethal